The style of the text characters on your website is known as the font. This guide will show you how to choose the fonts for your site.
In this guide
This feature is available on sites with our WordPress.com Premium, Business, and Commerce plans, and the legacy Pro plan. For sites on the Free and Personal plans, upgrade your plan to access this feature.
Watch a video showing how to update fonts on block themes. Instructions for all theme types can be found in the next section of this guide.
You can change the fonts of your site using the steps below.
To determine which section of this guide to follow, visit your dashboard and check under Appearance on the left side. If you find Editor here, use the Site Editor section of this guide. Otherwise, use the Page Editor or Customizer instructions.
Select the appropriate tab for your editor:
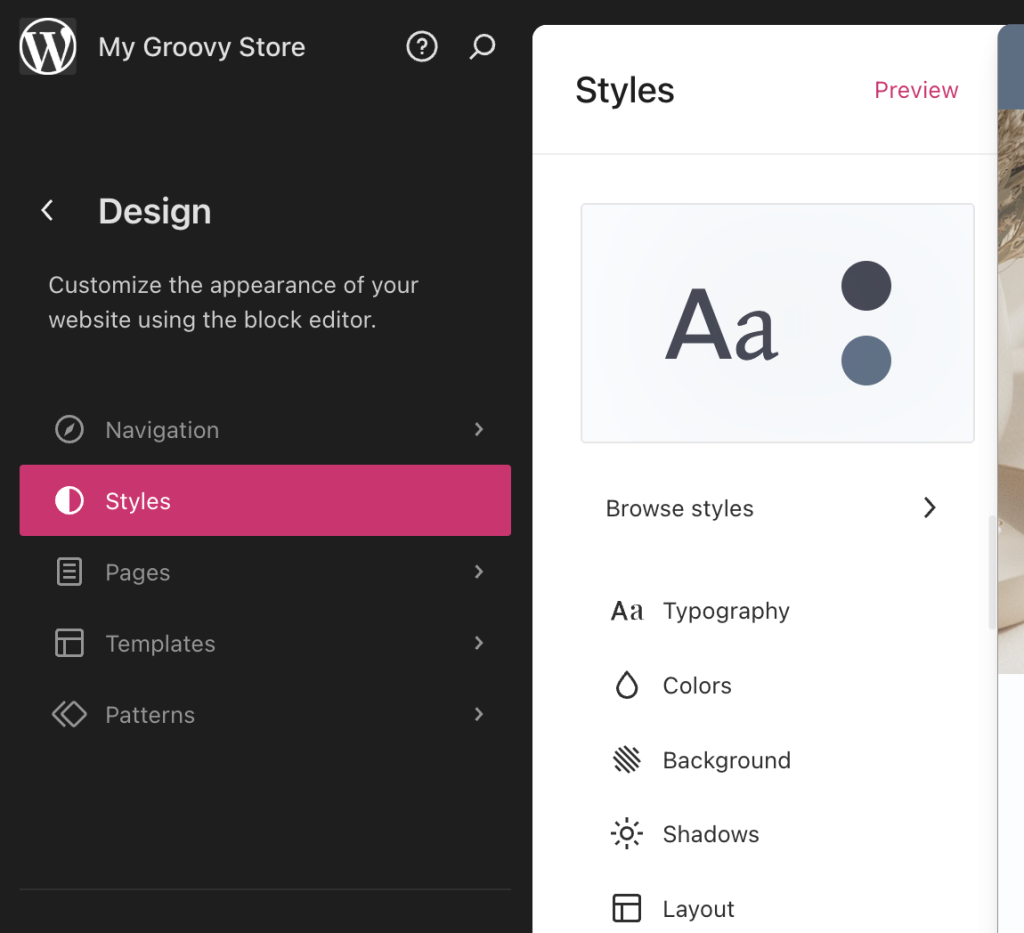
If your site uses a theme that supports the site editor, you can use the Styles option to change change your fonts on your site. To change your site’s fonts, follow these steps:
- Visit your website’s dashboard.
- Go to Appearance → Editor.
- Click on Styles on the left.
- Select the “Typography” option.
- Choose from the following text elements on your site:
- Text
- Links (including menu items)
- Headings
- Captions
- Buttons
- Click the dropdown under “Font” and choose your desired font. The text will update to your chosen font for you to see how it looks.
- You can adjust other settings related to the text, including the size, appearance (bold and italics), line height, letter spacing, and letter case.
- Click the “Save” button to make your changes appear on the site.

On higher level plans, you can upload your own font files.